Spiced Apple Muffins
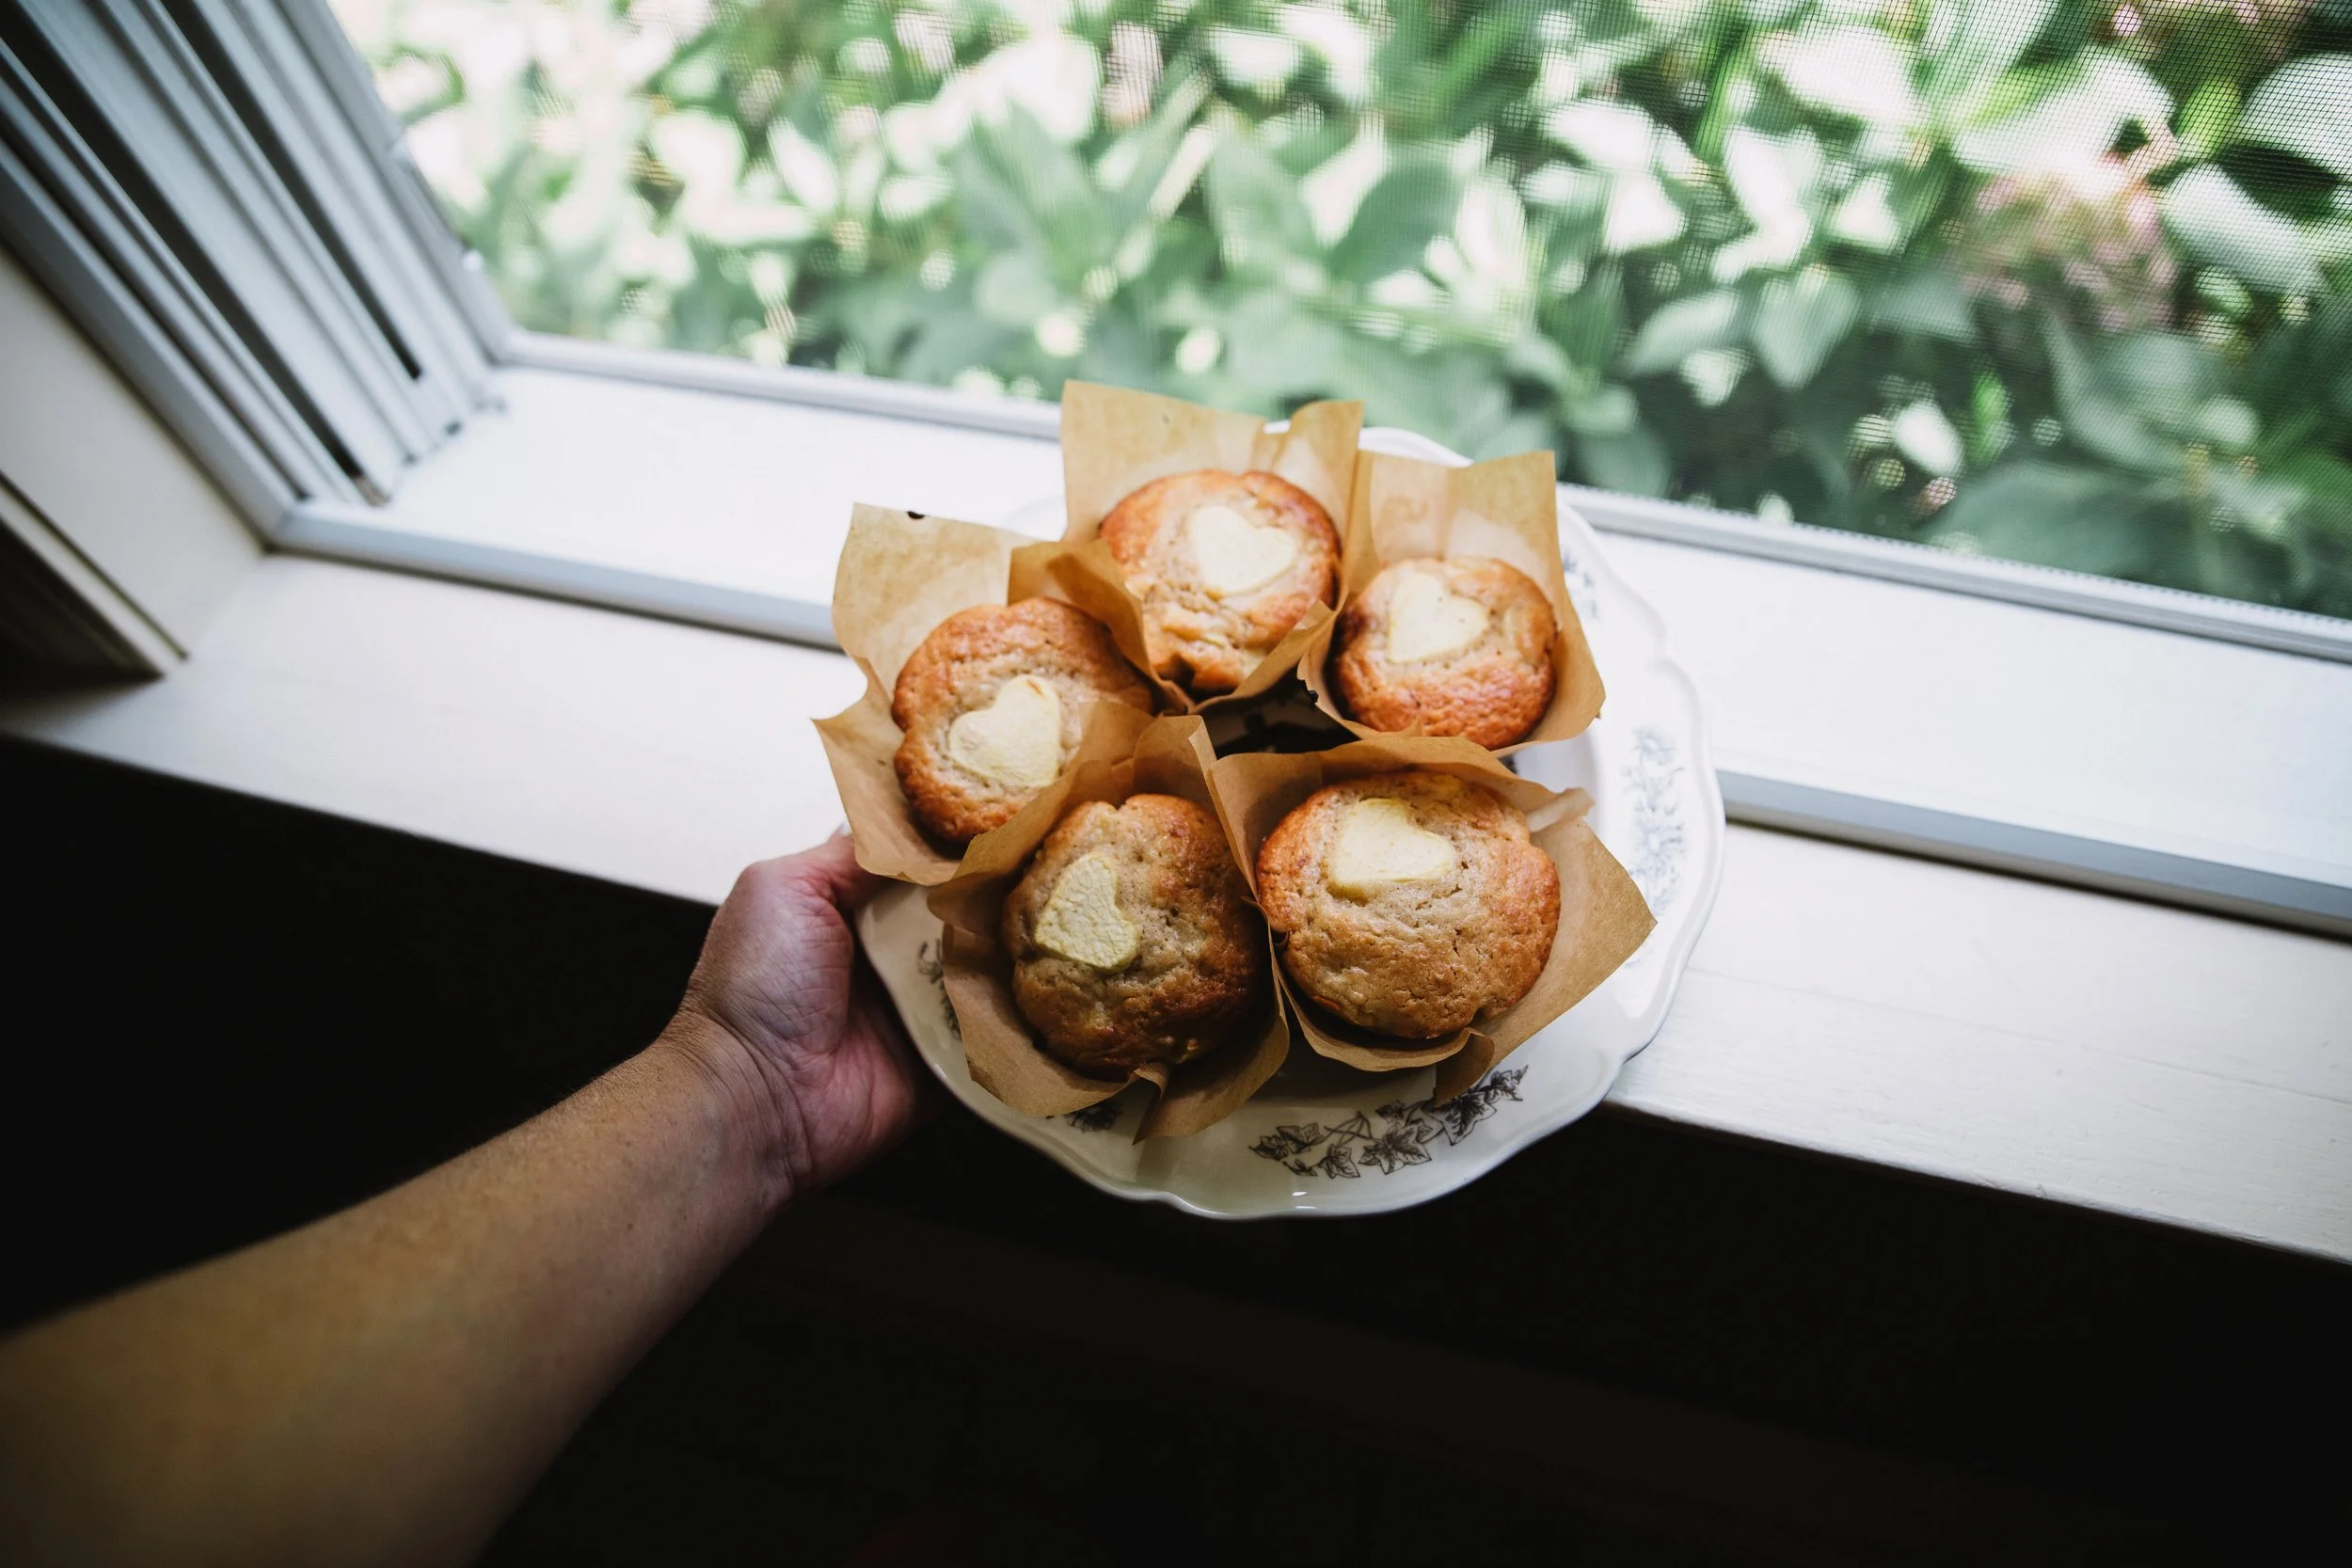
I Am Obsessed With These Muffins
And if you love those cozy autumn flavors of apple, cinnamon, and nutmeg, you probably will be too.
One of my kids is not a fan of cinnamon, and she still ate them, but she did say, “Next time, skip the cinnamon...” Which was pretty much expected from her.
So, if you aren't a cinnamon fan, these might not be the right muffins for you, and that's okay. But if you love those spiced apple flavors, I think you're going to love these.
Download the printable recipe → HERE!
Apple Muffins
Makes 10ish muffins… You can probably get 12 if you don’t over fill them
Ingredients:
2 cups all-purpose flour
1/2 cup granulated sugar
1/2 cup brown sugar, packed
2 tsp baking powder
1/2 tsp baking soda
1/2 tsp salt
1 tsp ground cinnamon
1/4 tsp ground nutmeg
1/2 cup unsalted butter, melted
2 large eggs
1 tsp vanilla extract
1/2 cup plain Greek yogurt
1 1/2 cups peeled, cored, and chopped apples (about 2 medium-sized apples)
Optional: 1/2 cup chopped nuts, such as walnuts
Optional: 1/2 cup dried cranberries
Instructions:
Preheat your oven to 350°F (175°C). Line a muffin tin with paper liners.
In a large mixing bowl, whisk together the flour, granulated sugar, brown sugar, baking powder, baking soda, salt, cinnamon, and nutmeg.
In another bowl, beat together the melted butter, eggs, vanilla extract, and yogurt until well combined.
Add the wet ingredients to the dry ingredients and stir until just combined. Don't overmix—a few lumps are okay.
Gently fold in the chopped apple pieces. If you're adding nuts, raisins, or dried cranberries, fold those in as well.
Spoon the muffin batter into the prepared muffin tin, filling each cup about 2/3 full.
If you want to add a little whimsy, slice a peeled apple and use a small cookie cutter to cut out apple shapes. Gently place an apple shape on top of each muffin before baking.
Bake in the preheated oven for 20–25 minutes, or until a toothpick inserted into the center of a muffin comes out clean or with just a few moist crumbs.
Allow the muffins to cool in the pan for a few minutes, then transfer them to a wire rack to cool completely.
Okay- That’s all for today.
~Rachel
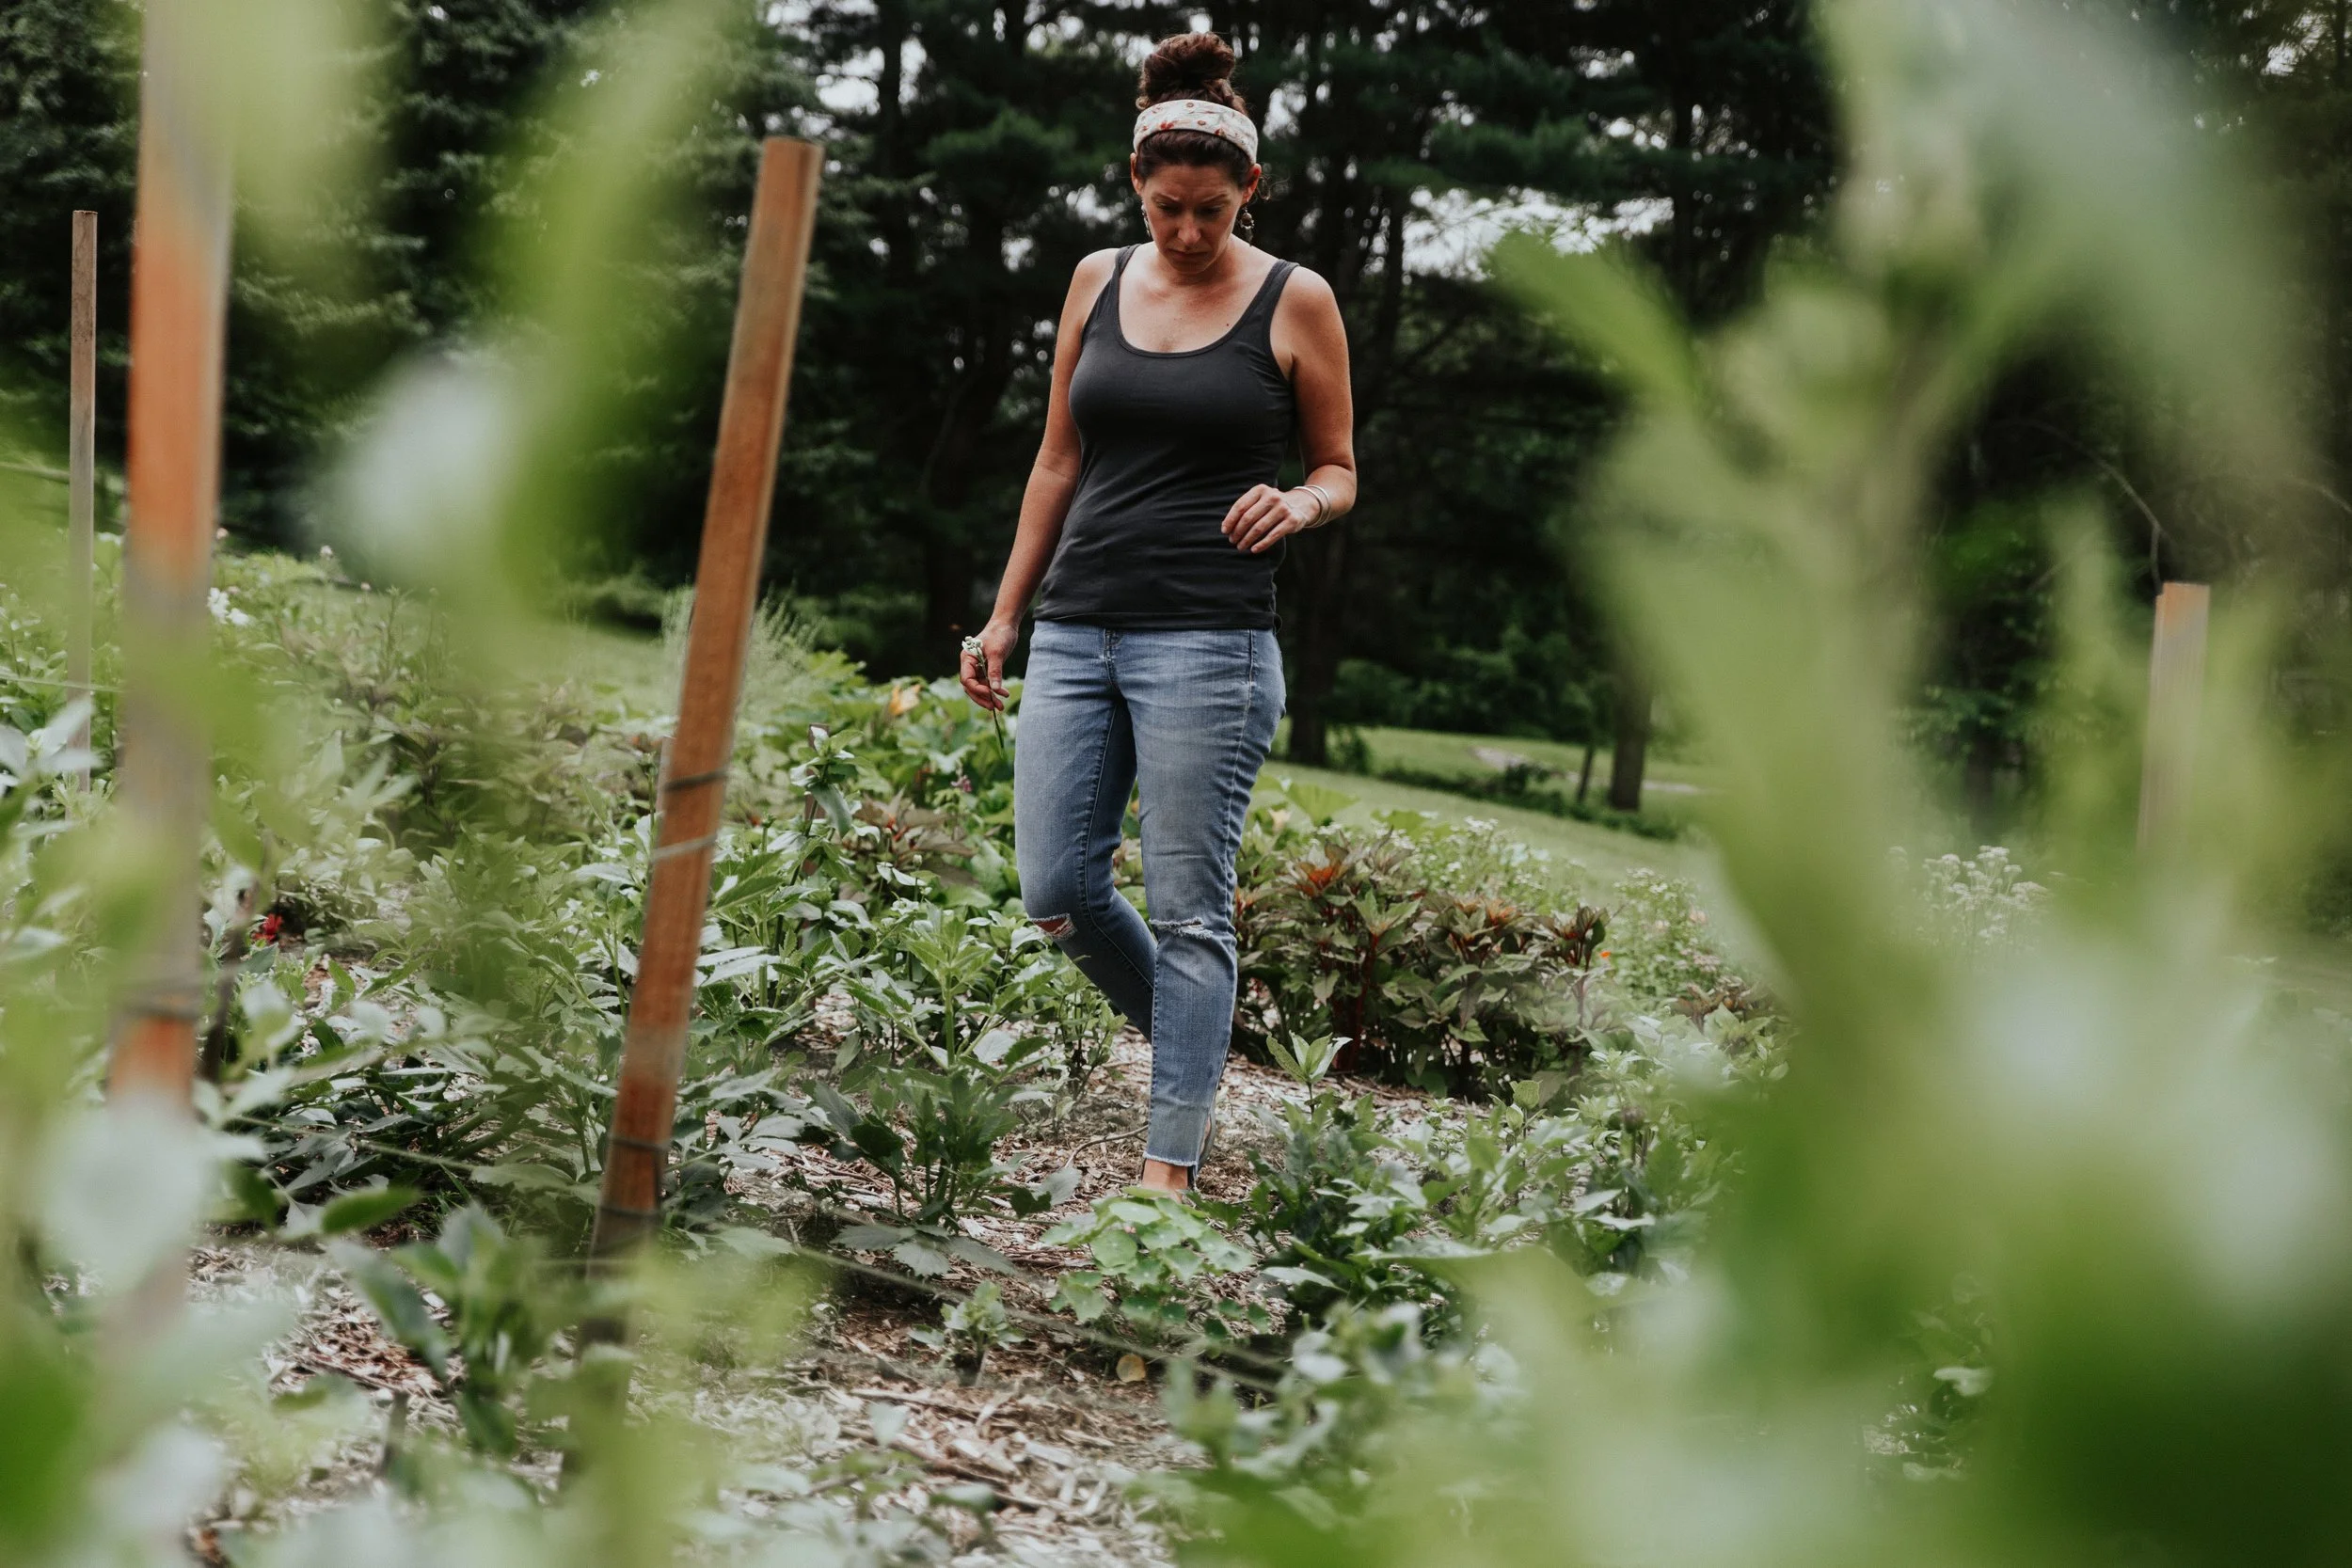
Written by Rachel Wilson
Rachel is a flower farmer and seasonal living writer on the New England Shoreline. She writes about gardening, gathering around the table, and finding a little more magic in everyday life.